Christmas in July: DIY Greeting Card Display Stand
This week I’m happy to be in a hop to share Christmas in July inspiration. Welcome, if you’re here from White Arrows Home. Don’t leave without seeing Chas’ Christmas in July. I was inspired by a video I saw on TikTok to make a greeting cards display stand. Do you enjoy looking at greeting cards each year? I love to see how people I might not have seen in years are doing.

I like the idea of displaying greeting cards in a rack. If you look at the instructions below and think – I don’t use a saw, don’t skip it. This was my FIRST TIME using an electric saw by myself and I have to say it was pretty darn satisfying.
Follow this easy tutorial for a greeting card holder and then hop on down to see the other creative Christmas in July ideas.
Supplies To Make A Greeting Card Tree
I choose every product I review. I may earn an affiliate commission if you buy from one of the product links, at no extra cost to you. This income supports this site. See the full disclosure.
Everything I purchased was at Home Depot except for the tiny clothes pins.
- Ryobi jigsaw
- 3 x Poplar boards – 1/2 inch x 4 inch x 4 feet
- Square board for base – 1 1/2 inch x 2 feet square board
- Square board for tree trunk – 1 1/2 x 3 feet square board
- White paint
- Poly Stain (optional)
- liquid nails
- Mini clothes pins and burlap string
- Ruler
- Hand sander
- Grip Clamp
Steps to Make A Greetings Card Display
To make this wood Christmas tree rack you have to start with cutting the wood boards into trapazoids. You can make as many tiers as you want. I decided to go with seven tiers starting with the top tier first.
I used a pencil to draw my cuts on the poplar boards. Here was my process, which I just repeated for each level.


Once I got all of the levels cut, I sanded the edges to smooth them out. I squirted my liquid nails all down the center of the post and set the levels on top. In hindsight, I wish I had laid the tiers on top of the table and set the post on top (but I did the opposite). I left this to dry overnight.
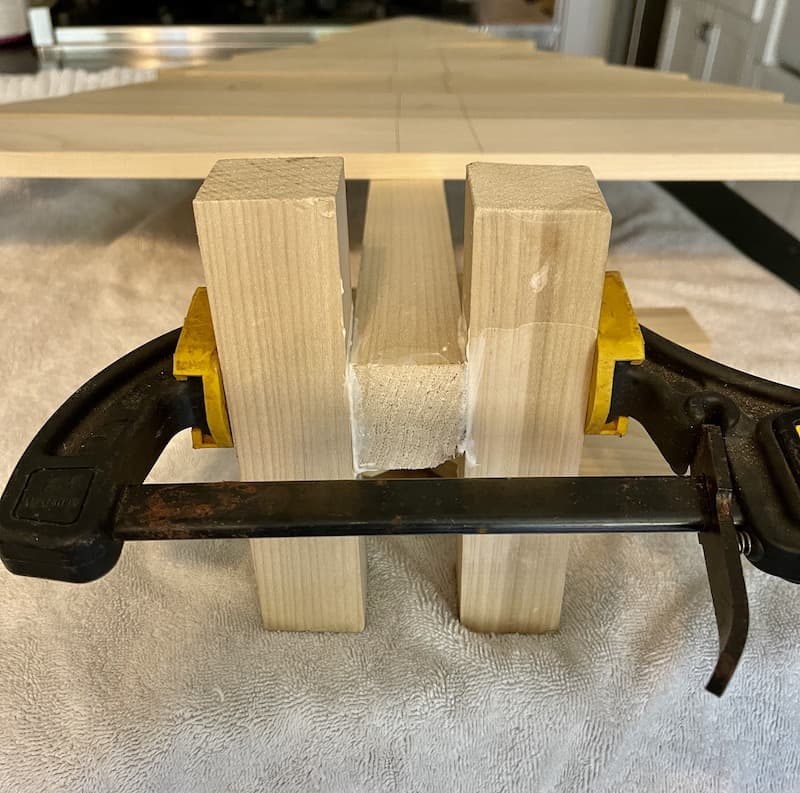
To make it free-standing I cut two pieces of the 1 1/2 inch post. These get glued to both sides of the center post in an “H” shape. This step required an additional set of hands to get both supports in place and clamped together.


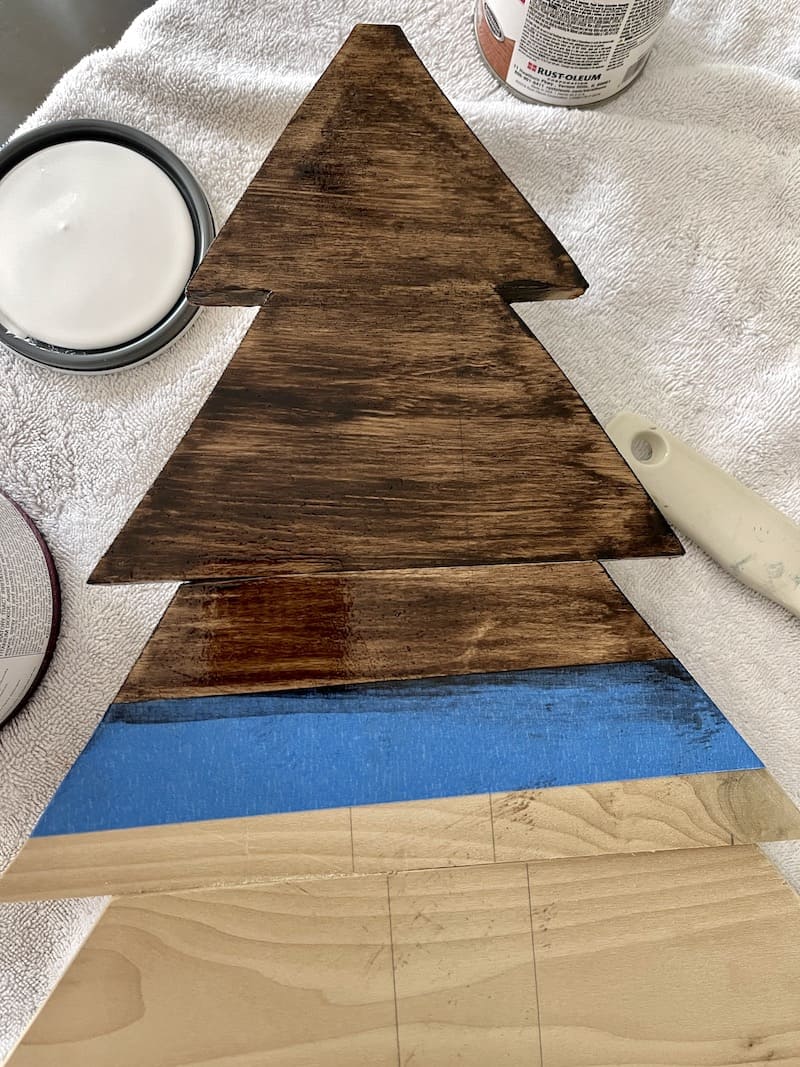
Once the greeting card stand was dry I taped off a few tiers to stain. Let the stain dry. I painted the rest of the tree white.


The final step is to string your ribbon, add the paper clips and it’s ready to go.


Christmas in July Hop
Make sure you hop around to see each of these. Before you go check out my favorite holiday movies with amazing homes for a bit of inspiration.
Stacy Ling – Bricks N Blooms –/– Chloe – Celebrate & Decorate –/– Anne & Ann Marie – Simply 2 Moms –/– Cindy – County Road 407 –/– Jenn – Down Shiloh Road –/– Kelly – The Tattered Pew –/– Rachel – The Ponds Farmhouse –/– Mary – Life At Bella Terra –/– Michele – Vintage Home Designs –/– Jen – MIdwest Life & Style –/– Kim – Shiplap & Shells –/– Kristen – White Arrows Home –/– Andrea – Design Morsels –/– Chas – Chas Crazy Creations

If you liked this, get more inspiration from the 2023 Christmas in July.


This is so cute and such a great idea! Thanks for sharing!
That is such a great idea! It would be perfect for the Christmas cards we get. Putting this on my list of things to do. Enjoyed hopping with you today.
Andrea! I love this idea! Not only is it clever, it looks fantastic too! Pinned it for later.
Andrea,
I love this project. It’s perfect for my farmhouse style and I’ve pinned for future reference. I’m so glad you joined us today.
Andrea, I know this project was out of your regular wheelhouse and I am so proud of you! I hope you were inspired and we see more DIY projects from you! You did a wonderful job on this cute little tree, probably better than I could have done. Power tools are not really my strength. I am anxious to see what you do for Christmas this year with your new found skills. The bicycle with the lights is a great addition to holiday decor, too! Pinned!
I love this idea, Andrea! You did such a great job with it. I’m not great when it comes to power tools, but I may have to try this one. Pinned.
Andrea what a cute idea! love this! pinned!!!
This is such a cute idea, Andrea, and a great way to display all of the holiday cards!
Andrea, I would have love to see you use the electric saw! Good for you! This is such a great DIY! I suppose you could make it bigger and use it on a wall too! I love displaying all the cards we get from family and friends. Thanks for sharing. You did a great job!
Absolutely fantastic DIY my friend and I love how you used power tools – whoot whoot! I think I need one of these in my home – so useful!
Wow I am super impressed! Now I want to try my hand at the saw. This turned out so cute. Pinned!
What a cute DIY! Love it!