Are your curtains too short? Try this to lengthen them
Are your new curtains falling a bit short where they look like highwater pants for your windows? Don’t worry, you don’t need to replace them entirely. This is the fix if you need more than just an inch or two.
With a little creativity and some basic sewing skills, you can easily lengthen your curtain panels and give your space a fresh new look.
Whether it’s to match the ceiling height, block out more light, or simply enhance the overall aesthetic, here’s a step-by-step guide on how to lengthen curtains using simple tools and techniques.
What You’ll Need:
- Curtain rod
- Curtain panels (one reason the curtains might not be the right length is if you move or find a great pair of curtains secondhand)
- Sewing machine
- Seam ripper
- Ironing board (or ironing mat) and iron
- Measuring tape
- Fabric scissors
- Straight pins
- Steam setting on iron
Step-by-Step Instructions:
1. Determine Your Ideal lenght: The first step is to determine the ideal length of your curtains. Measure from the curtain rod to the desired point near the floor or window sill. Decide if you want your curtains to just kiss the floor or pool on the floor. Curtains that pool on the floor give your room a more formal look but they are harder to keep clean.
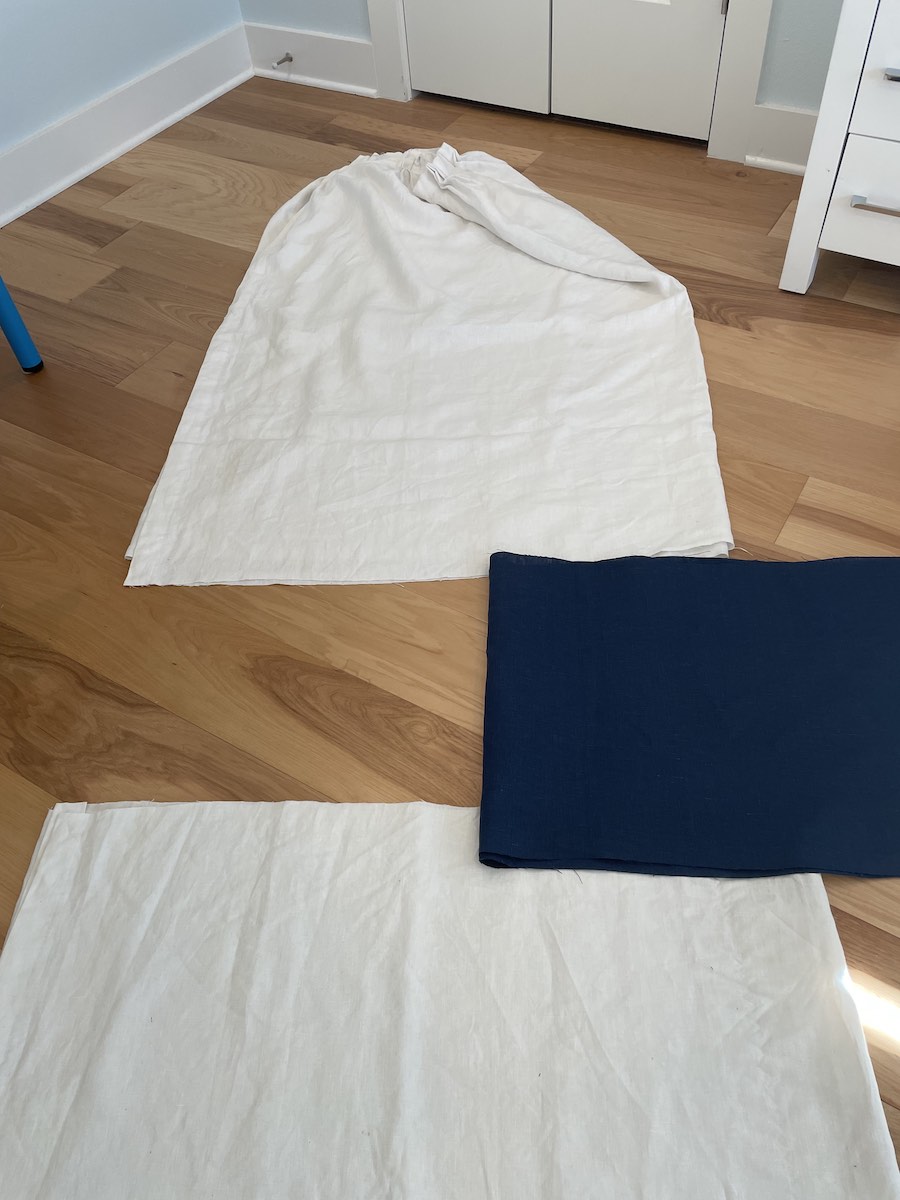
2. Gather Materials: Acquire extra fabric that complements your existing curtains. You can use the same fabric or a coordinating one for a stylish touch. I added a panel of a contrasting color.
3. Prep Your Curtains: Remove the curtains from the rod and lay them flat on a cutting surface (which might have to be the floor due to length). Measure where you want to add the panel for length and cut the curtains at that point.
I added an extra panel 2/3 of the way down the length of the original curtain, so I cut the bottom 1/3 of the curtain off. I think this makes the additional fabric look more intentional. I was left with 2 pieces of fabric, one was the top of the curtain and one was the bottom. I am adding the panel for extra length between the two pieces so I was able to keep the existing hem.

4. Measure and Cut: Measure the additional length you need and cut the extra fabric accordingly. Make sure to add a half inch for seam allowance.
5. Attach the Fabric: Align the raw edge of the extra fabric with the bottom of the curtain panel, right sides facing each other. Pin them together along the edge.
6. Sew the Seam: Using your sewing machine, stitch along the pinned edge, creating a straight line of stitches. Because I added a panel 2/3 down from the top of the curtain I then pinned the bottom 1/3 of the curtain to the new fabric panel, right sides together and sewed a straight seam.


7. Press and Finish: Iron the newly attached fabric to flatten the seam and set the stitches. Fold the new seam upward and press it down. If you prefer, you can apply stitch witchery or iron-on hem tape to secure the seam without sewing.
8. Steam and Hang: Set your iron to the steam setting and lightly steam the newly lengthened area. Hang the curtains back on the rod, ensuring they are even and the new length looks natural.
Congratulations! You’ve successfully lengthened your curtains and given your living room, dining room, or any other space a new lease of life.

This cost-effective and creative solution is a great way to customize your decor without breaking the bank. Experiment with different fabrics, textures, and curtain rings to create a unique look that complements your interior design style.
I use affiliate links so I can afford to keep doing this. Hope it saves you time. See my disclosure policy.
If you like window treatment DIYs you might like how to make a 4 seam curtain or an easy window treatment for a bathroom.