DIY Pergola Plans: You NEED one to complete your outdoor living room
The outdoor pergola has been something that I wanted to do as soon as we decided to get rid of our pool. Today is a big day when the covered pergola construction begins.
This DIY project is way beyond my skill level, but fortunately, my handyman is part engineer and loves a good woodworking project. I showed him the pergola designs that I liked and he came up with the real plan.
Below I will share step-by-step directions, a supplies list and pictures of the process.
What’s the Point of a Pergola?
Before we get to the details of how to build a pergola, why would you want to? There are three reasons to add a pergola to your yard.
A pergola gives your yard a focal point that you can use to build an outdoor space. A big backyard without a focal point is just like a room without something to catch your attention. If you want your backyard to feel like a living space you have to treat it like one. Outdoor structures are a great way to define a seating area.
The second reason to add a pergola is shade. If you really want to enjoy your yard as a second living area you need protection from the elements. It makes the experience of sitting outside in hotter temperatures more bearable, especially if you add a fan. We added a roof to provide ample shade.
There are many simple structures you can add to your back yard and this is not the simplest. The third reason to add a backyard pergola is that it has a unique design. You can fit a pergola even in a small backyard. A well-planned outdoor area adds to the value of your home.
Material List
For this size project, home delivery is a must. A funny story, while I was waiting for the Home Depot Delivery a lady rang the bell trying to deliver 8 hard hats instead of all of the material (lumber, steel joists, etc).
| Item | Quantity | Cost |
| Cedar Post 6″x6″ 10-foot post | 4 | 152.00 |
| Black powder coated basePost Base for 6×6 post | 4 | 220.00 |
| Deck Joist for 2″ lumber 14 gauge | 8 | 5.08 |
| 2″x8″ 20 foot pressure-treated pine | 4 | 30.77 |
| 2″x6″ 14-foot pressure-treated lumber | 20 | 12.48 |
| 2″ Fasteners box of 50 | 6 | 7.00 |
| 2″x4″ 16-foot pressure-treated pine lumber | 12 | 10.78 |
| grey corrugated roof panel 26″ x 8′ | 18 | 26.00 |
| #10 2.5″ hex drive screws 100 pack | 1 | 21.28 |
| LUS ZMAX Galvanized Face-Mount Joist Hanger for 2×6 | 20? | 20.00 |
| pipe and post multi-level | 4 | 24.00 |
| 24 inch plastic closure strips (6-pack) | 8 | 63.84 |
| 2 inch fasteners (50 pack) | 2 | 14.00 |
| Outdoor accents hex washer (8-pack) | 8? | 119.84 |
| Quick concrete mix 60lb bag | 12 | 36.00 |
| QUIK-TUBE 12 in. x 48 in. Building Form Tube | 2 | 48.00 |
| Outdoor Accents 0.220 in. x 3-1/2 in. T40 6-Lobe, Low Profile Head (50 pack) | 2 | 64.00 |
| stain (left over from the fence) |
Other basic tools you will need are a table saw, a driver, a drill, two ladders and paintbrushes. We also used saw horse for painting and a platform, but these aren’t requirements.
I use affiliate links so I can afford to keep doing this. Hope it saves you time. See my disclosure policy.
Step-by-step Instructions
The approximate size of this freestanding pergola in our yard is 12×15. If you have a concrete patio, you can skip to the next step.
Setting Concrete Footings – The first step is to set the cement piers for the posts to be fastened to. This requires measuring many times to make sure that the four sides will be square.
We were in a hurry to get the cement supports in place before the decomposed granite was delivered. I was all set to help dig the holes for the cement, but the ground was SOOO hard from the pool fill that we had to use a gas-powered auger.
The cement base is set inside the 12-inch Quik cardboard tube. We used two tubes, each one cut in half. We trimmed off the visible pieces of the Quik Tubes after they were dry.


We used a 12-inch wide pier so that there would be a little bit of room to move the base an inch or so in any direction.
Once the cement was set, we used stakes on the outside corners of each pier and ran a string to make sure that the base would be square. We measured, measured and measured again. This is a really important part of the pergola.
Attach Post Base to Pier – Set the base on top of the pier. Once you are comfortable that the corners are square, fasten the base to the pier. We used these Cobra Parawedge Anchors.


Prepare Cedar Posts – At the end you want one side of your pergola to be slightly lower so that water will easily drain off the roof. This is easily accomplished by cutting 3 inches off two of the cedar posts on one side.
Before you set your 6×6 cedar posts upright, screw in the brackets that will be at the top of the structure. It’s easier on the ground than it is in the air. Make sure your cedar posts fit inside the bottom brackets. We had to do a little filing on the bottom corners to make the posts fit perfectly.


Set Posts In Place -Attach the post multi-level to the side of the post. before you start. As you put the posts up, brace them in place by temporarily attaching a 2×4 support beams to both sides. Be sure to keep an eye on the level as you set the post up. We had one attached to each cedar post.


Mount the 2×8 Cross braces – Before lifting the cross braces we took the extra time to cut the end of the beams at a 45-degree angle. This step requires two ladders because you have to set the lumber into both brackets at the same time. Mounting the brackets in advance makes it easier to raise them. We added additional hardware to secure the braces once they were up.
We mounted both 2x8s, one on the inside of the square and one on the outside.
Once all four cross braces are up remove the 2x4s that you attached to each cedar post for support.


Attach Brackets For 2x6s – Before we added the roof, Grant thought we should add more support between the 2x8s. He nailed in a piece of wood every 2-feet to align with the roof joists. We then attached the roof brackets at the same 2-foot intervals, followed by the roof joists.


Attach 2×4 Lattice – The 2x4s are the last part of the woodwork. The corrugated roof will mount on top of the 2x4s. We were going to put sections of 2×4 inside the 2x6s but to speed the process along, we opted to mount them on top.
I’m going to write a separate post about attaching the corrugated roof panels because there’s a lot of detail. For now, I will share the finished covered pergola.

What Would I Do Differently?
If I were going to build this again I would definitely order the supplies a week ahead and get all the lumber stained. That’s all I have got for this one. I LOVE the way it turned out and I can’t wait to get some chairs and plants in there.
This was a very time-consuming project and one that I couldn’t have done alone. It requires lots of tools and muscle. It was a great learning experience for me. In fact, if I used the wrong words in writing this, for all you construction experts, please let me know in the comments.
If you want a Pergola in your backyard but you don’t want to DIY it there are many prefab diy pergola kits out there. In fact, you can even pay a pretty nominal amount to have it professionally installed.
For example, this 12×10 Pergola on Wayfair is pretty close to the design we used. You can pay $700 to have it installed. It doesn’t have an enclosed roof, but you could add that. Most of the covered pergolas you can buy have a fabric canopy.
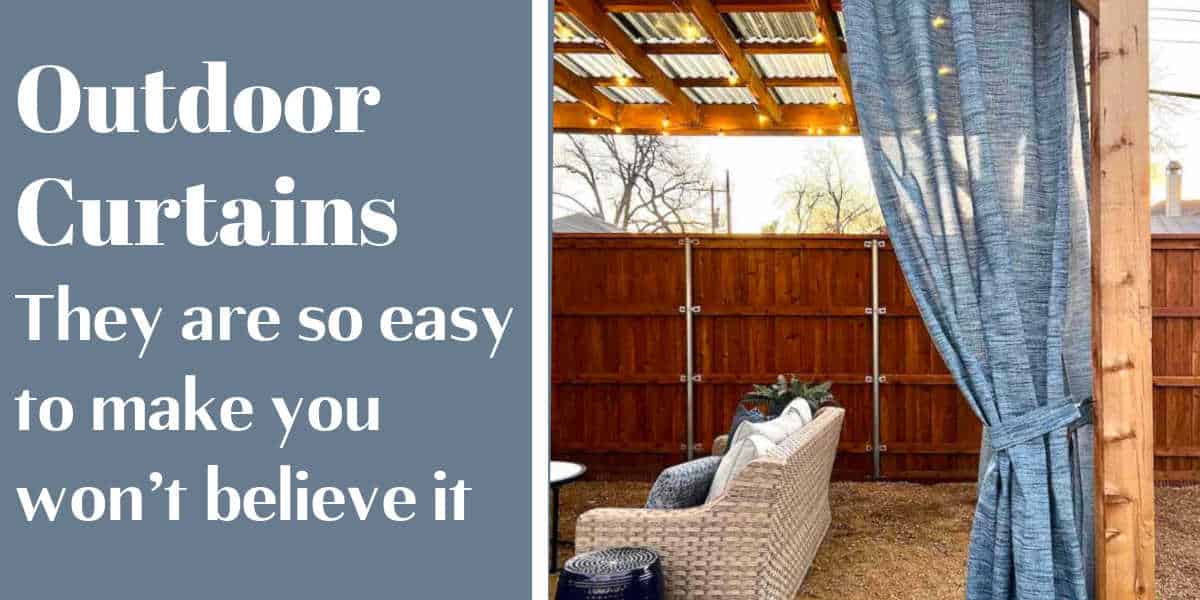
If you have any questions about the project I’m happy to provide more detail. Enjoy! If you like this post, you would also enjoy How to Make Outdoor Curtains.
Related posts:


WOW! Impressive, you two!! You’re going to have so much fun with that this summer – I can’t wait to see what furniture you get and how you set it all up. Congratulations on an amazing job!